One of the projects we completed last week was installing a brand new pool enclosure for our client in Naples.
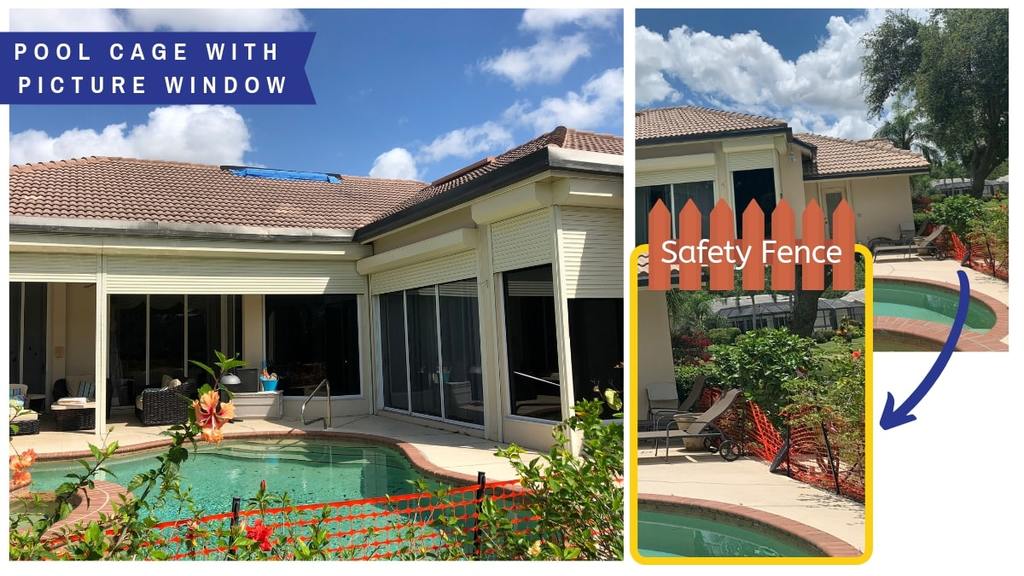
Because their home backs right up to a body of water, their cage-free pool area was invaded by pesky insects. After seeing our pool enclosure projects online, they called us to install one for them.
Before we started working on-site, we first had to get a permit approved. We’ve done hundreds of these projects so we already know the most efficient way to go through this process. Our client didn’t wait that long since we can get permits faster than anyone else.
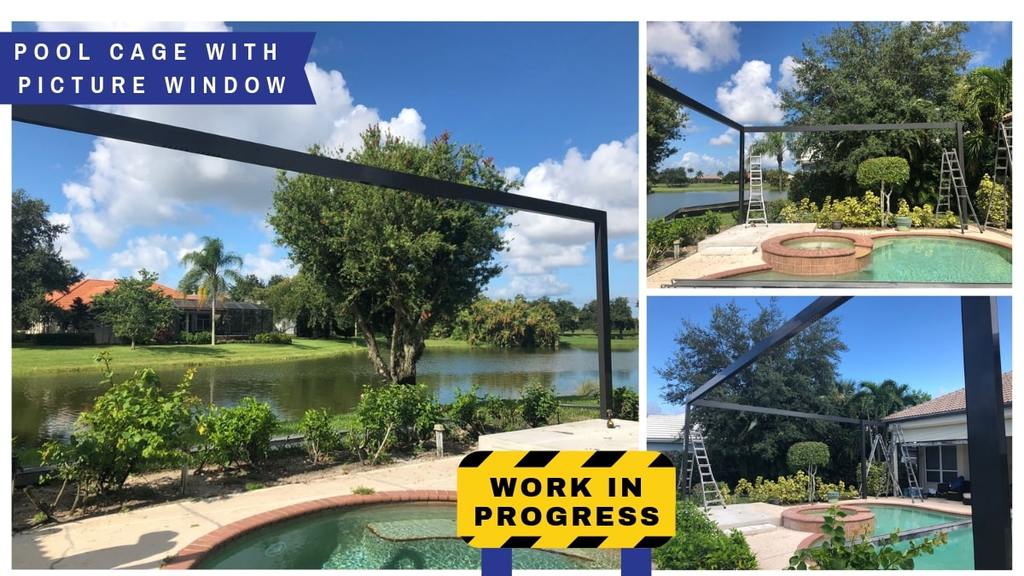
Once the permit was approved, we got to work. We first fabricated the frame in our shop to minimize the time on site and to lessen the interruption on our client’s daily life. While setting up the frame, we first placed a safety fence (the orange netting) to make sure that no one falls into the pool or wanders into the construction area.
Here is a work in progress photo of the first few frames we installed…
After installing the frames, we used Nylo-tec fasteners for this enclosure. It comes with a 10-year warranty and it is more durable than other standard models. Then we installed the mesh.
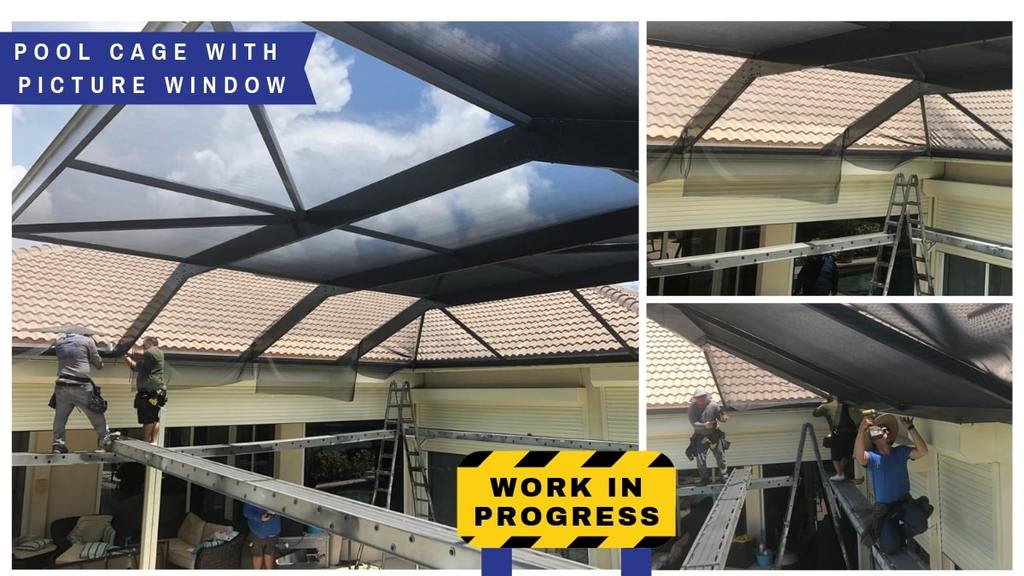
Take a look at our efficient crew installing Superscreen 14/16 mesh all over the pool cage. This screen is perfect for this pool cage because it can be installed on large openings.
Why does this pool cage have large openings? Because it’s not the usual design, but we engineered it to have a maximum view, which we call a picture window. Most of our pool enclosures have this design so that frames or beams won’t obstruct the view.
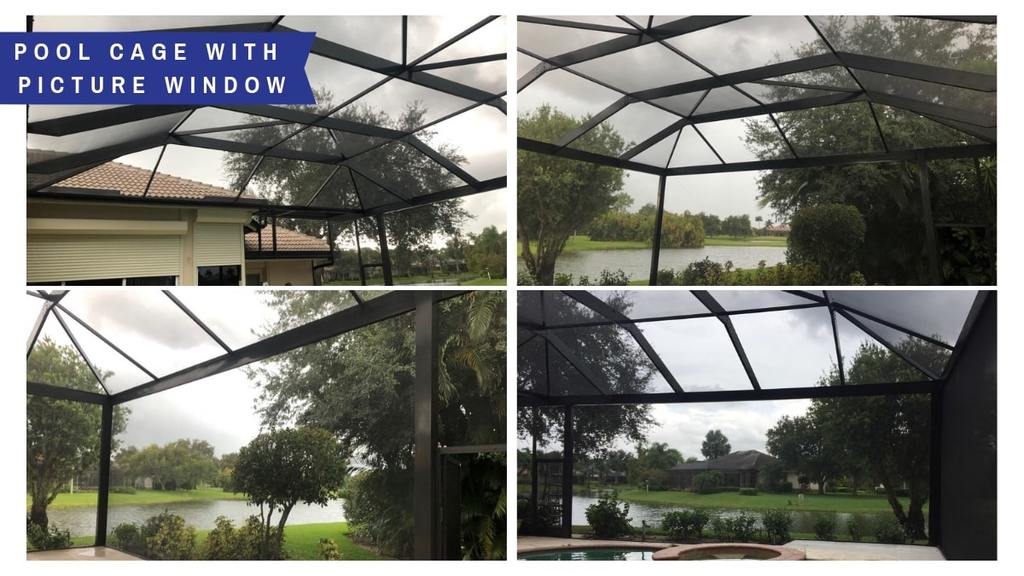
We got this done in less than 3 days. Here is our satisfied customer, Mr. Cullen, and his new pool cage with a picture window. It looks as if nothing is covering his pool area thanks to the design. Now he can enjoy relaxing in a bug-free enclosure while looking at this beautiful view.

Ref 18539